VDCWorx Tools for Revit Add-in
VDCWorx tools are being released as an ‘Alpha 0.1.0’ build
***Please consider these tools to be in a developmental stage***
What is an Alpha release?
“The “alpha phase” of software development follows the early programming and design stages, but precedes the “beta phase” in which the software closely resembles the final version and can be released in stages with those stages being feature complete.”
Our Revit Add-in tools are designed around the MEP Fabrication Revit user with work flow in mind while maintaining a parametric logic for user flexibility.
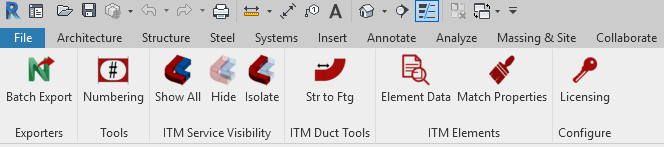
Tool Pallets:
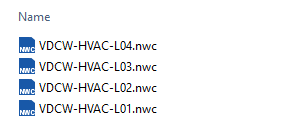
- Autodesk Navisworks .nwc batch exporter which plugs directly into Revit.
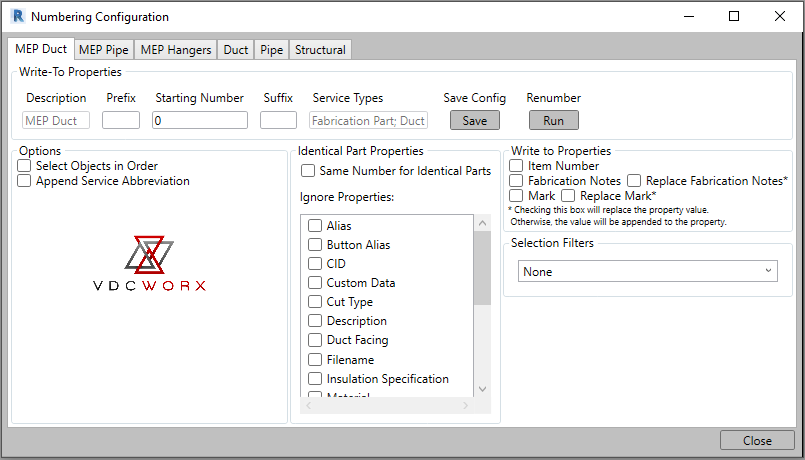
- Renumbering tool for MEP Duct, MEP Pipe, MEP Hangers, Structural, Generic Duct & Pipe.
- MEP Fabrication service visibility.
- Duct Tools including combine straight to fittings function.
- Element data and Match properties function.
What is on the Horizon for future VDCWorx Tool builds.
- Duct & Pipe Spooling for .ITM Content
- Duct & Pipe Hanger placements and specifications for .ITM Content
- Clash detection and resolution automation
- Auto Tagging and Annotation tools
- Hanger point exports for layout robots
Pricing and Licensing
Single User
1 License- Single Stand alone License
- Free software development updates
- Navisworks .NWC Batch Exporter
- Numbering Tool
- .ITM Service Visibility
- .ITM Duct Tools
- .ITM Element Tools
Premium License
10 Licenses- 10 Full Licenses
- Free software development updates
- Navisworks .NWC Batch Exporter
- Numbering Tool
- .ITM Service Visibility
- .ITM Duct Tools
- .ITM Element Tools
Enterprise License
30 Licenses- 30 Full Licenses
- Free software development updates
- Navisworks .NWC Batch Exporter
- Numbering Tool
- .ITM Service Visibility
- .ITM Duct Tools
- .ITM Element Tools
A la Carte purchasing
Want to purchase tools individually? Just select the features you want to purchase for an individual license and your ready to go.
Note: For Custom purchases of individual tools, please contact us at info@VDCWorx.com
NWC Batch Exporter
Single User- Not using Fabrication MEP parts and just need to export nwc files? This tool is perfect for you.
- NWC Batch exporter
- Other tool pallets sold separately
Numbering Tool
Single User- Fabrication .ITM & .RFA Numbering
- MEP Duct
- MEP Pipe
- MEP Hangers
- Structural
- .rfa Duct
- .rfa Pipe
- Other tool pallets sold separately
Service Visibility
Single User- Using Fabrication .ITM Service information to adjust visibility settings.
- Service Visibility Tools
- Show All Services
- Hide Service(s)
- Isolate Service(s)
- Other tool pallets sold separately
Duct Tools
Single User- .ITM Fabrication duct components
- Combine Straight to fittings
- Other tool pallets sold separately
ITM Element Tools
Single User- .ITM Fabrication elements tool
- Element Data viewer
- Match Properties tool
- Other tool pallets sold separately
VDCWorx Tools – How to’s
NWC Batch Exporter

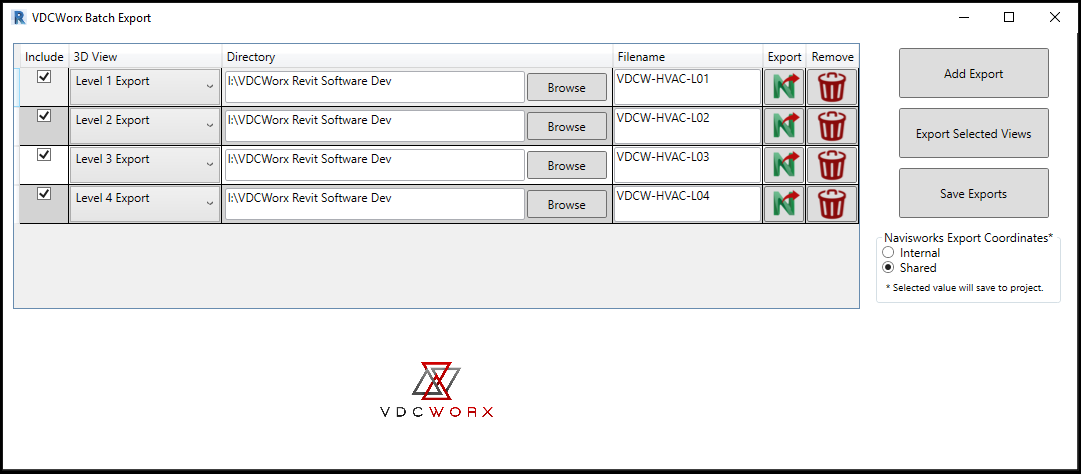
Batch Export
- Open the command from the Exporters pallet.
- Once the dialogue box is open, you will see you can fill in the data fields in a logical order.
- You can name the exports differently than what the view is named, this allows easier use for your detailers.
- Set your Navisworks Export Coordinates to either Internal or Shared. If you leave these unchecked, it will default to your current Navisworks settings. (Note: These settings will save with your project so you don’t have to keep track of these settings across multiple projects.)
- Click the Save Exports button.
- When you have all of the fields completed, then you have the option to export individual selections by clicking the export button next to each item, or you can check multiple rows in the Include column, then click on the Export Selected Views button.
- Realize the production and consistency with exports and naming conventions with this tool.

You will see the exports in the folder(s) you chose.
Numbering Tool
Numbering
- Open the command from the Tools pallet.
- At the top, select the tab for the discipline you are wanting to number or renumber.
- Fill in the data desired including any prefix or suffix that you want.
- Hit the Save button (Note: this data will save to the project so next time you run the command you wont have to remember the content).
ITM Service Visibility

Show All Services

Isolate Services

Hide Services
- In the ITM Service Visibility Pallet there are three options you can choose from; Show all, Hide and Isolate.
- These function in the same fashion as in Fabrication CADmep.
- Show all will show all of the services in that view.
- Hide will allow you to select a single service or multiple services that you want to hide in that view.
- Isolate will allow you to select a single service or multiple services that you want to isolate in that view.
- Click finish when you have selected the services you want.
- These visual settings are per view, so it will not hide or isolate in any other views in the project.
Duct Tools
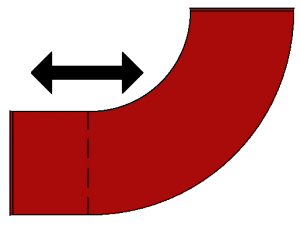
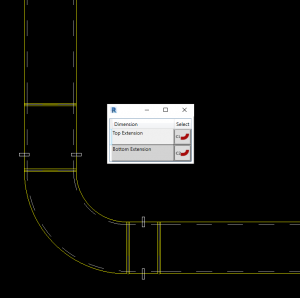
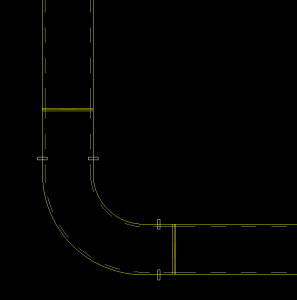
Str to Ell
- Open the extend fitting to straight tool.
- Select the elbow you want to extend to.
- Select the straight you want to combine into the fitting.
- Select the connector (C1 or C2). Note: If you select the wrong connector, just hit cancel then try another connector.
ITM Elements

Element Data

Match Properties
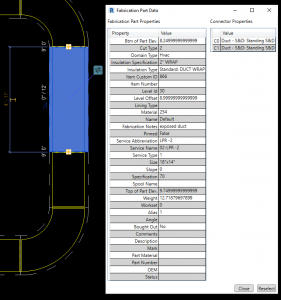
Element Data
- Click on the Element Data icon. Note: You can select the item you want to view properties to first, then the icon if you desire.
- See a quick list of the elements properties. This saves time when you just need to check content.
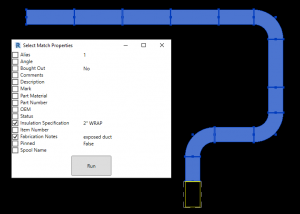
Match Properties
- Just as in Fabrication CADmep you select the item you want to get the properties from first.
- Select the items you want the properties to update to.
- Select the properties you want to transfer over.
- Hit the Run button.